Modifying Wi-Fi Configuration on Deye Inverters
Step 1:
Log in to Deye Cloud.
Step 2:
In the top-right corner, select the menu icon (three horizontal lines).
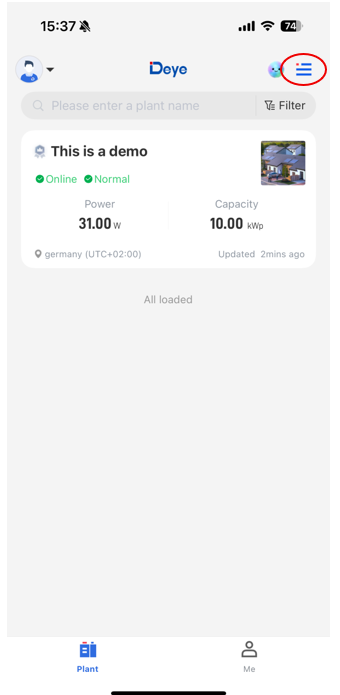
Step 3:
Choose the “Wi-Fi Configuration” option.
Step 4:
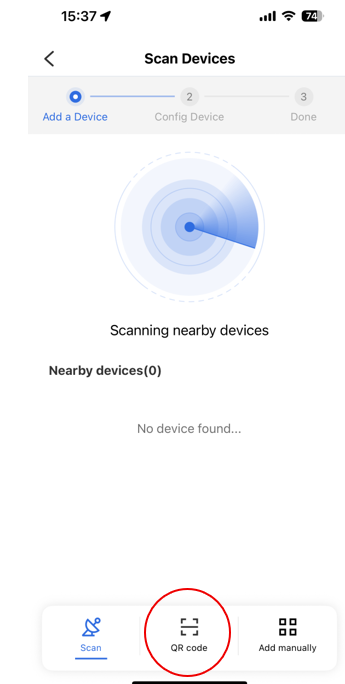
Select “QR Code”.
The radar connection method is not very reliable — under the “Add Manually” option, you can manually enter the Wi-Fi dongle number.
Step 5:
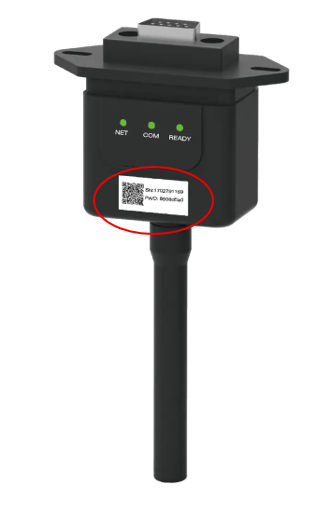
Scan the QR code located on the front of the dongle.
Step 6:
Select the Wi-Fi network you want to connect to, and enter the corresponding password.
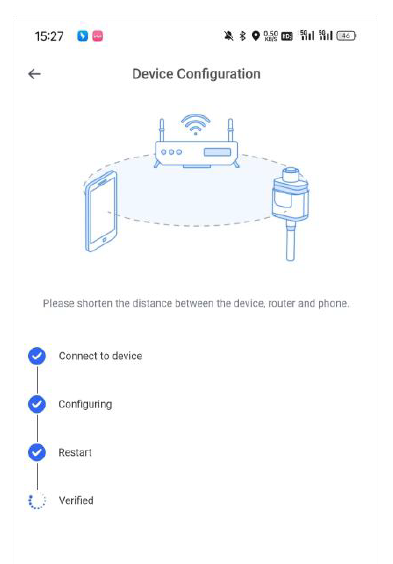
Step 7:
After verification is complete, press “Connect.”
Step 8:
On your mobile device, switch your Wi-Fi connection to the signal broadcast by the logger.
Both the SSID and password can be found on the front of the logger, next to the QR code.
⚠️ Do not close the Deye Cloud app during this step — you may, however, minimize it.
Step 9:
Return to Deye Cloud.
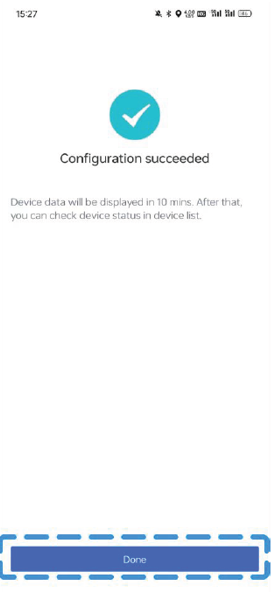
Step 10:
Once verification and connection are complete, tap “Done.”
Step 11:
Close the Deye Cloud app, then reconnect your phone to your home Wi-Fi network via the phone’s Wi-Fi settings.
After this, the device will be back online, and upon reopening Deye Cloud, you will see your plant information displayed as usual.